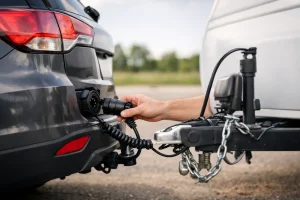
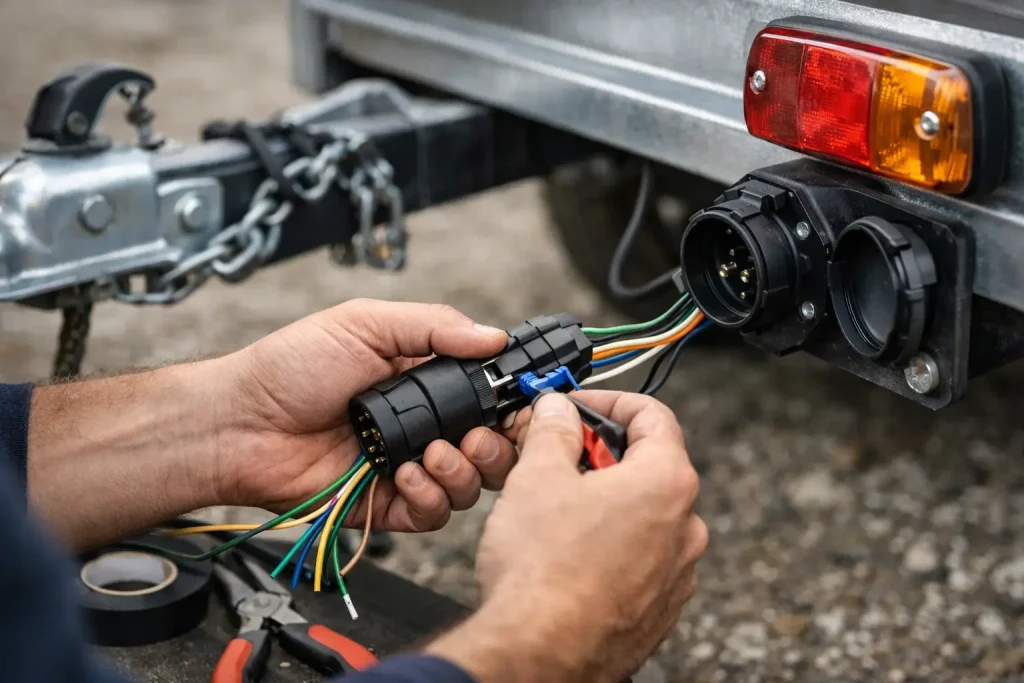
A trailer with one dead light is more than an annoyance – it is a safety problem, a legal problem and, very often, the first sign that the wiring has been done badly. If you are looking up how to wire trailer electrics, the key thing to know is that there is no room for guesswork. The job needs the right plug type, the correct pin layout, sound earth connections and proper testing before the trailer ever goes on the road.
For many owners, the confusion starts with what they are actually wiring. Some setups are simple lighting-only connections for a small utility trailer. Others need full road lighting plus reversing lights, battery charging or power for caravan equipment. The right approach depends on the trailer, the tow vehicle and how often you use it.
How to wire trailer electrics without guesswork
At the most basic level, trailer electrics connect the vehicle’s lighting circuits to the trailer so the rear lights work as they should. That means tail lights, brake lights, indicators and usually fog lights. On more advanced systems, it can also include reversing lights and permanent or switched live feeds.
The first decision is the plug system. In the UK, the common modern standard is the 13-pin plug. Older trailers may still use 7-pin connections, usually one plug for road lights and, on caravans, a second 7-pin plug for supplementary power. If your vehicle and trailer do not match, an adaptor may work, but adaptors are not always the best long-term answer. A proper matched setup is usually more reliable, especially if the trailer is used regularly in poor weather.
Before any wiring starts, confirm the exact pin configuration for the plug you are using. Wire colours can vary, particularly on older trailers or previous repair jobs, so colour alone should never be trusted. A wiring diagram and a tester matter far more than assuming green means one thing and brown means another.
What you need before starting
A decent wiring job begins with the right materials. That usually means a trailer plug, suitable automotive cable, junction box if required, crimp terminals or soldered connections where appropriate, heat shrink, cable protection, fixings and a tester or multimeter. You also need basic tools that let you strip, crimp and secure wiring properly.
Cheap connectors and exposed joins are where many trailer problems begin. Water, road salt and vibration are hard on electrics. If connections are loose, poorly insulated or routed where they rub on the chassis, faults tend to appear sooner rather than later. It is often the difference between a trailer that works every time and one that develops intermittent faults on the first wet morning.
If the tow vehicle is a newer car or van, there is another consideration. Modern vehicle electrics are often controlled by multiplex or CAN-bus systems. In those cases, wiring in trailer electrics is not simply a matter of tapping into the rear light wires. A vehicle-specific wiring kit or dedicated relay system is often the correct and safest option. Get that wrong and you can trigger warning lights, lighting faults or even damage control modules.
7-pin or 13-pin – which matters?
For a small trailer carrying garden waste or tools, a 7-pin setup may be enough if only the standard road lights are needed. For caravans, plant trailers and many newer towing setups, 13-pin is the better option because it offers more functions and a more secure weather-resistant connection.
That is why the wiring process is not just about attaching wires to pins. It is about making sure the whole towing setup suits the way the trailer is actually used. A basic setup can be perfectly fine, but only if it genuinely covers the trailer’s needs.
Wiring the trailer plug correctly
The plug is the point where accuracy matters most. Each terminal has a specific job, and each wire must be connected to the correct pin. If one is crossed over, you can end up with indicators affecting brake lights, fog lights not working or no lights at all.
Start with the plug dismantled and the cable fed through the housing before making any terminations. It sounds obvious, but it is a common mistake to wire everything neatly and then realise the casing was never put on. Strip each conductor carefully, avoiding damage to the copper strands, and secure each one firmly into the correct terminal.
The earth connection deserves special attention. A weak or corroded earth is behind a large number of trailer lighting faults. Strange symptoms such as dim lamps, lights flashing together or inconsistent operation often trace back to a poor earth rather than the live circuits themselves.
Once the conductors are terminated, clamp the cable properly in the plug body. The cable should not be able to move freely or pull on the individual terminals. A good strain relief helps the plug survive normal towing use, especially when the cable is handled frequently.
Routing and protecting the cable
After the plug, the cable run along the trailer needs to be secured well away from moving parts, sharp edges and points where water can collect. Clips should hold the cable firmly but not crush it. Where the wiring passes through metalwork, use grommets or protective sleeving.
On many trailers, a junction box is used to split the main cable to the left and right lighting units. This can keep the layout neat, but only if the box is sealed and the internal connections are sound. A badly fitted junction box simply creates another place for moisture to get in.
Testing trailer electrics properly
No matter how confident you are with the wiring, the job is not finished until every circuit has been tested. Plug the trailer into a suitable towing socket and check each function one by one. That means side lights, left indicator, right indicator, brake lights, fog light and reversing light if fitted.
Do not just look for whether a lamp comes on. Check that it is the correct lamp, that it is bright enough and that nothing else comes on at the same time. A circuit can appear to work while still hiding an earth problem or crossed connection.
A dedicated trailer board tester or multimeter makes fault-finding far easier. If there is a problem, work methodically from the plug outwards. Start at the vehicle socket, then the trailer plug, then the junctions, then the lamp units. Randomly replacing bulbs and connectors usually wastes time.
Common faults after wiring trailer electrics
If you have wired everything and something still is not right, the most likely issues are usually fairly predictable. Poor earths are top of the list. After that come incorrect pin assignments, damaged cable, corroded lamp holders and badly made joins.
Water ingress causes plenty of trouble too, especially on trailers stored outside year-round. Even a correctly wired trailer can develop faults if the plug is left on the ground, the junction box is not sealed or lamp units have cracked lenses. That is why ongoing maintenance matters just as much as the first installation.
There is also the vehicle side to think about. If the trailer tests badly on one tow car but fine on another, the trailer may not be the real problem. The vehicle socket, towing electrics module or original installation could be at fault.
When professional fitting is the better option
Knowing how to wire trailer electrics is useful, but there is a point where DIY becomes false economy. If the vehicle is modern and uses complex electronics, if the trailer needs supplementary power circuits, or if you are already chasing repeated faults, it often makes more sense to have the system fitted or checked properly.
That is especially true for drivers who tow for work, travel with caravans or rely on a trailer every week. A poor electrical connection can mean a wasted job, a failed holiday start or a vehicle and trailer that are simply not road legal. Professional fitting gives you the benefit of vehicle-specific knowledge, proper testing and a cleaner installation that is built to last.
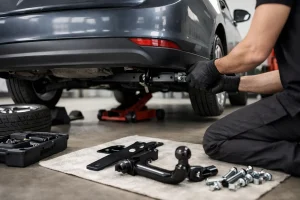
At Doncaster Towbars, this is exactly the kind of problem we help customers solve every day – from straightforward trailer socket installations to more involved vehicle-specific towing electrics and fault diagnosis.
How to wire trailer electrics safely – and when not to
If you are competent with vehicle electrics, have the correct diagram and are working on a simple trailer, wiring the electrics can be a manageable job. If you are unsure about the plug standard, the pinout, the vehicle wiring system or the condition of the trailer itself, stop before turning a small job into an expensive one.
Good trailer electrics are not about making the lights work once in the driveway. They are about reliability in the rain, on dark roads and after months of regular use. If you want the setup checked, fitted properly or sorted without the trial and error, speaking to a specialist is often the quickest route to confidence on the road.